How to start a Substack in three easy steps
Start building your media empire in five minutes
What exactly is Substack? It’s a platform that lets anybody publish online directly to their readers. A Substack publication combines the features of a blog and an email newsletter. Every time you publish a post, it both gets posted on your Substack publication page, and is sent out by email to your subscribers. You always retain full ownership of your content and your email list. Substack is free if your content is free, but you have the option (now or later) to turn on paid subscriptions and make money from your most dedicated readers.
Setting up your Substack is easier than you might think. Just follow these three steps, and by the end, you’ll have your publication launched with your first post published.
1. Click the button below to go to the signup form:
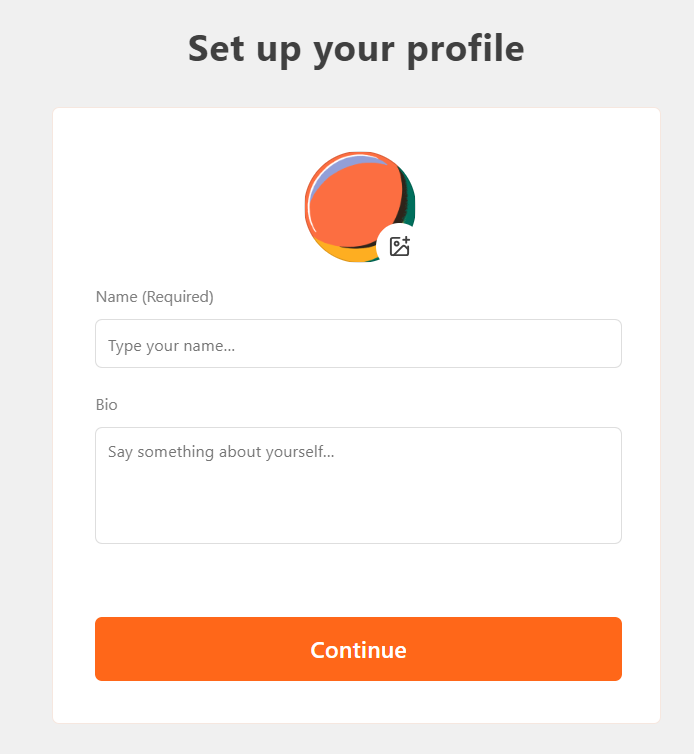
If you’re not logged into an existing Substack account, you’ll be prompted to create an Substack account first by typing in your email. Then you’ll be invited to set up a profile by typing in your name and (optionally) bio.
Next, type in your desired subdomain. Whatever you enter as subdomain, plus the suffix substack.com, will be the permanent web URL of your Substack. This is what you’ll have to type into the address bar of your internet browser to get back to your Substack in future.
.
2. Follow the steps of the setup flow until your Coming Soon post is created
The next three screens invite you to:
Import your mailing list. Click “Skip for now” if you don’t have one or prefer to do this later.
Add up to five subscribers by typing in their email address. Adding a few friends and family here helps motivate you to post. You can click “Skip for now” if you prefer not to add any yet.
Dive into your interests. This is an opportunity to be recommended some Substacks so you can delve into the Substack ecosystem. Select a couple of categories and we’ll suggest some top Substacks.
Recommend other writers. If you subscribe to any Substacks, you’ll be invited to “recommend” them here, and they’ll be listed in your homepage sidebar. Adding recommendations gets Substack’s network effects working for you right away. You can “Skip for now” if you prefer not to do this yet.
Once you click through these screens, your publication will be created. You’ll be brought to your Dashboard. This is the easy-to-use control center of your Substack.
Congratulations, your Substack is set up! Now it’s time to actually launch your Substack by posting your first post.
3. Click on “New Post”, create your launch post, and publish it.
Click on the New Post button at the top right corner of your screen. This opens up the Post Editor. You can either type your post directly into the editor, or copy and paste it from Google Docs, Word, or whatever you use for writing.
When you’re satisfied with the post, click the “Continue” button in the top right-hand corner. That will take you to the Publish page.
If you uploaded a list of subscribers, it’ll send this post to everybody on your list. However, if you don’t have any subscribers yet, it’ll email it only to you, and also post it on the public internet, on your Substack homepage. (Reminder: your Substack homepage is located at the web URL you chose via the initial signup form in Step 1.)
Click the “Send to everyone now” button at the bottom right:
Congratulations! You’ve launched your Substack! 🎉
Ready to get started? Click the button below:
Top 10 frequently-asked questions from new Substack writers:
Can I make a private Substack publication?
Can I write anonymously on Substack?
How do I import my posts from my existing blog to Substack?
How do I import my mailing list from another platform, such as MailChimp or Revue?
What happens when I connect my Twitter to my Substack?
How do I add free images or pictures to my Substack post?
What are the optimal image dimensions for my logo and email banner?
Why does it say “Post too long” in the post editor?
How do I set up my Stripe account to start receiving payments?
Additional questions? Search our Help Center
Ready to think about going paid?
Check out Substack Grow — an online crash course for writers ready to pursue independence by building a loyal readership and kickstarting paid subscriptions.


